Appearance
Footnotes
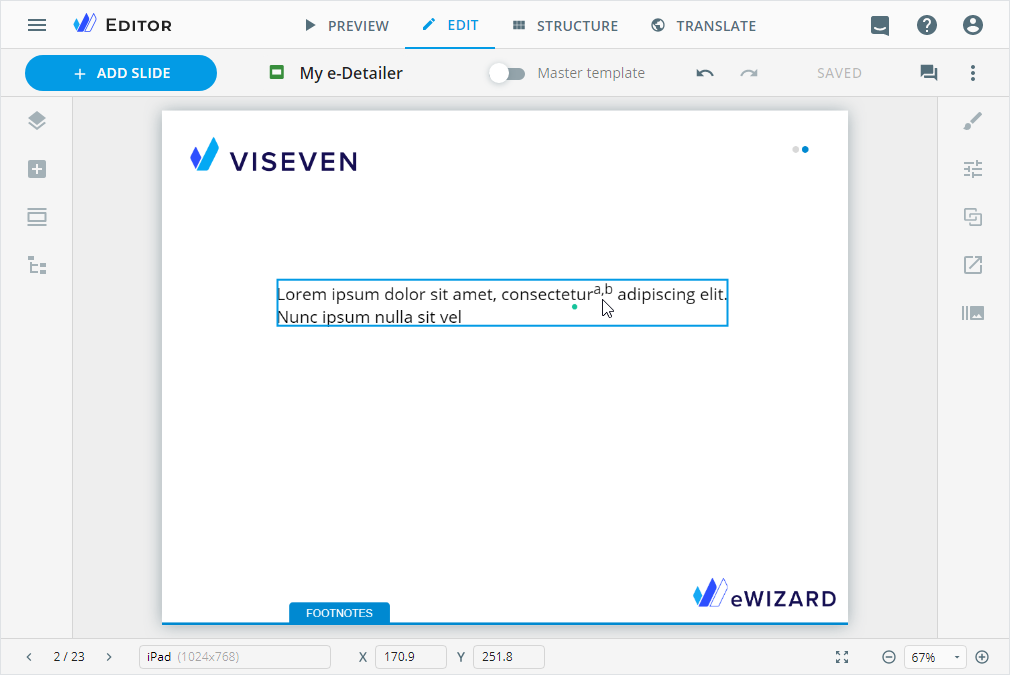
To add information to e-Detailers and their briefs, you can apply footnotes to the text components. This additional information isn't visible on a slide when you're presenting the e-Detailer. You access footnotes within the dedicated Footnotes popup, while the text on the slide contains only a superscript symbol as the footnote indication. When required, you can add footnotes without superscript indicators, making a hint for yourself in the Footnotes popup. To open the Footnotes popup, click the FOOTNOTES button at the bottom of the slide.
To apply footnotes, you must create the footnotes for your e-Detailer, and then add created footnotes to text.
To create a footnote:
Add the text component or select the one already added.
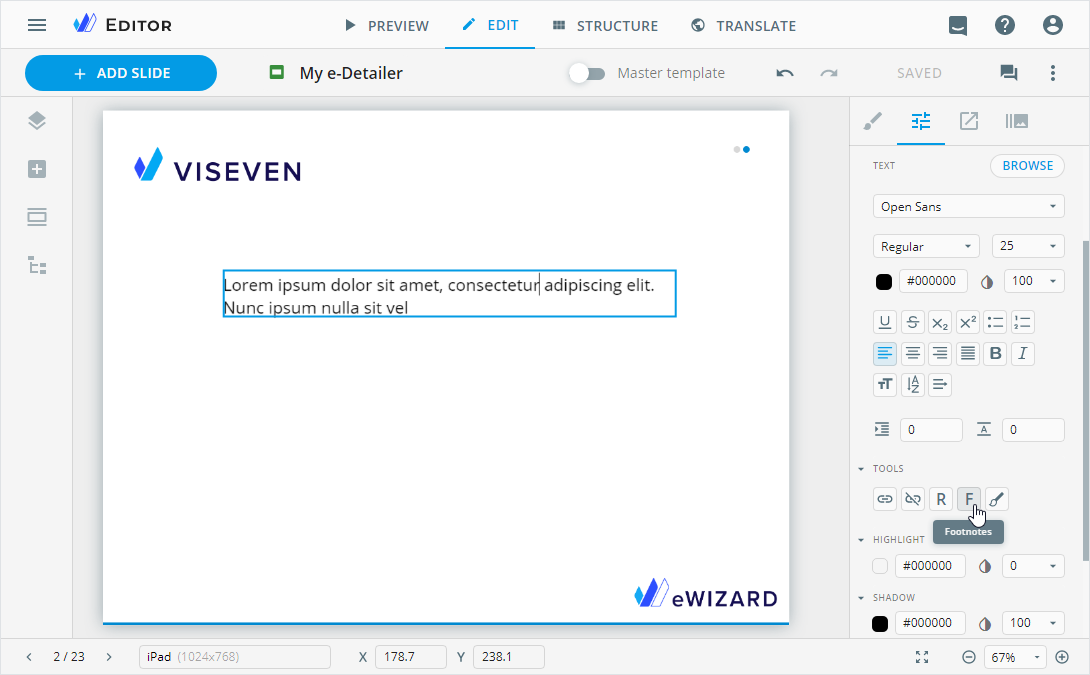
Go to Properties. Click
F.
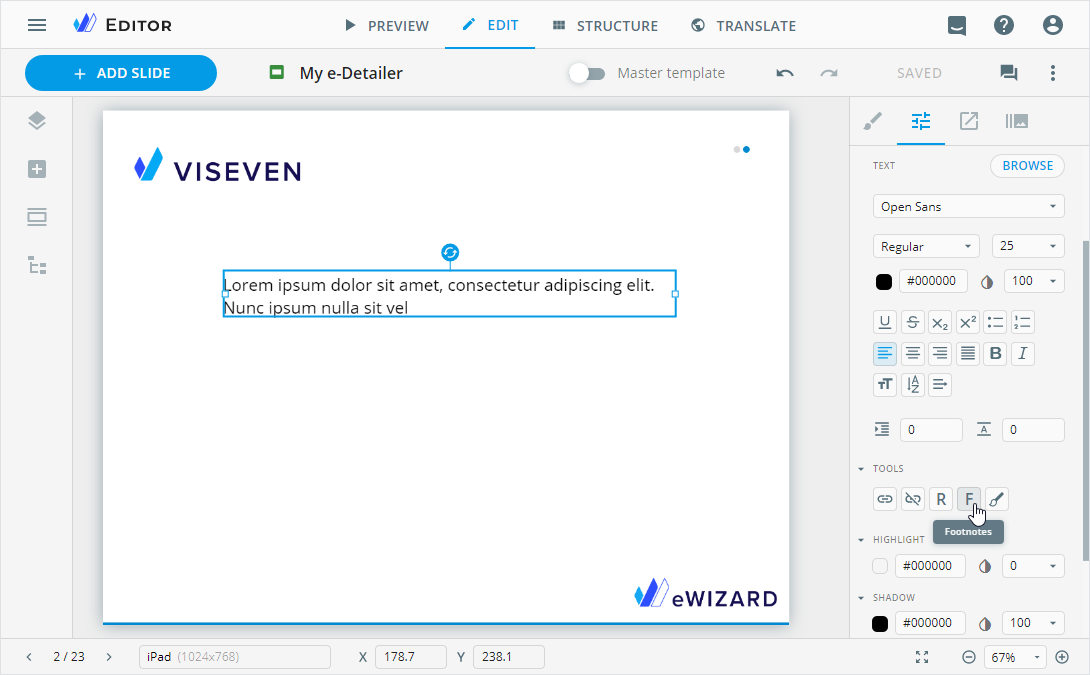
In the configuration popup, click
+ ADD NEW.Enter the footnote text.
Select a symbol to indicate the footnote on the slide.
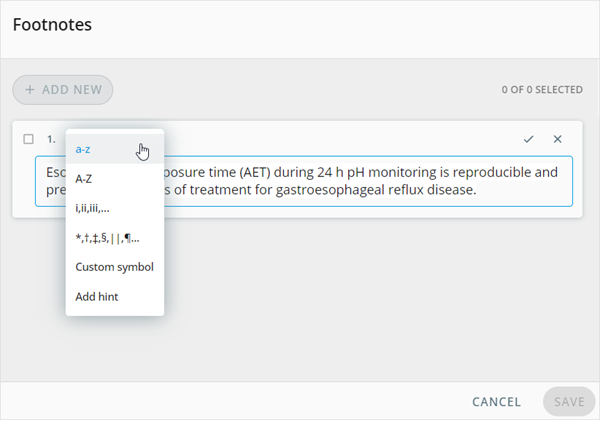
The following footnote indicator options are available:
a-z/A-Z: Lower and uppercase lettersi, ii, iii, ...: Roman numbers*, †, ‡, §, ||, ¶...: Six typographical symbolsCustom symbol: Your symbolAdd hint: No superscript indication on the slide. Enter up to ten characters in the input field that appears once you select this option. To view the hint, open the content item PREVIEW and unfold theFootnotespopup.
- Click
 to save the footnote.
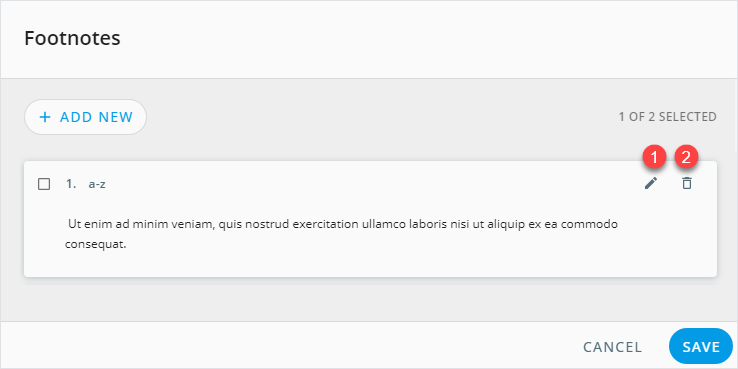
The newly added footnote appears at the end of the list. To change the footnote order, drag it to the required position in the list.
[1]: To edit a footnote, click ![]() in its row.
in its row.
[2]: To delete a footnote, click ![]() in its row.
in its row.
While editing, you can add external resources to footnotes with the following controls:
| Control | Action | Notes |
|---|---|---|
| Add a PDF file to the footnote | Select the text fragment and click Attach. In the Assets popup, choose the required document. You can add one PDF files per footnote. | |
| Add a link to the footnote | Select the text fragment and click Link. In the Edit link popup, choose the Link type and fill in the required fields. You can follow the link in the PREVIEW mode. | |
| Delete the link | Select the link text or put the cursor next to the link and click Unlink. |
To add the created footnote to the text:
Add the text component or select the one already added.
Place the mouse cursor in the text where you need to add a footnote.
Go to Properties. Click
F.
In the configuration popup, select the checkboxes of the required footnotes to display them on the slide.
Click
SAVE.
The superscript footnote indicators appear in the text where you've placed your mouse cursor.
To check the footnotes added to the text components, open the Footnotes popup:
In the EDIT mode, select the footnote indicators and click
Fon the Properties tab.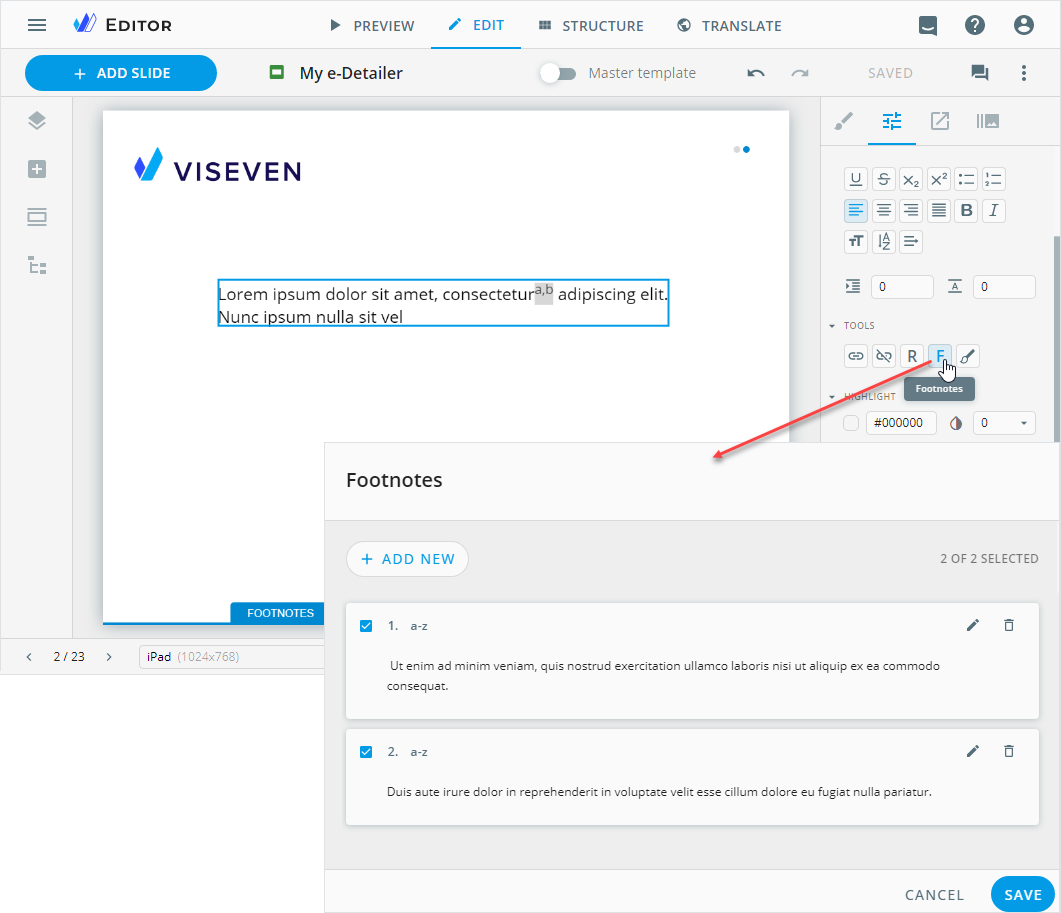
In the PREVIEW mode, click
FOOTNOTESat the bottom of the slide.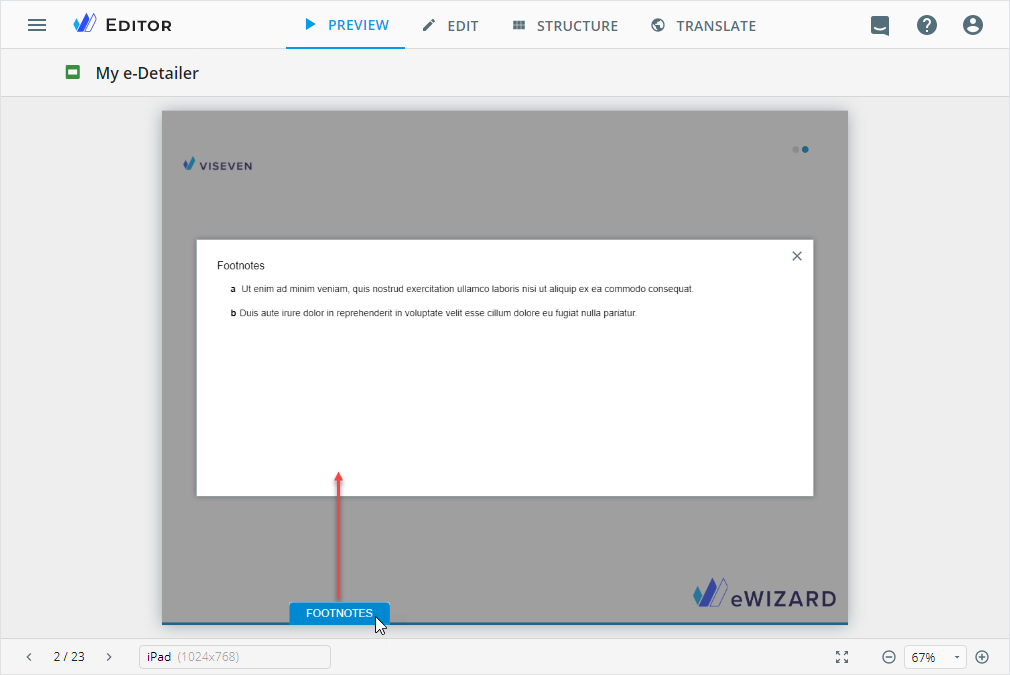
When creating a localization copy of a content item, you can localize the added footnotes in the configuration popup. Thus, your copy ZIP archive contains texts and footnotes in both the original and current languages. To use the specific localization version, select the required language in the Edit details popup.
Properties
You can set up the resulting appearance and behavior for the footnotes in your e-Detailer: the whole component, and its popup and button. For this:
Switch on Master template [1].
Open the Tree tab [2]. Unfold
Footnotes[3].Go to the Properties tab on the customization panel [4].
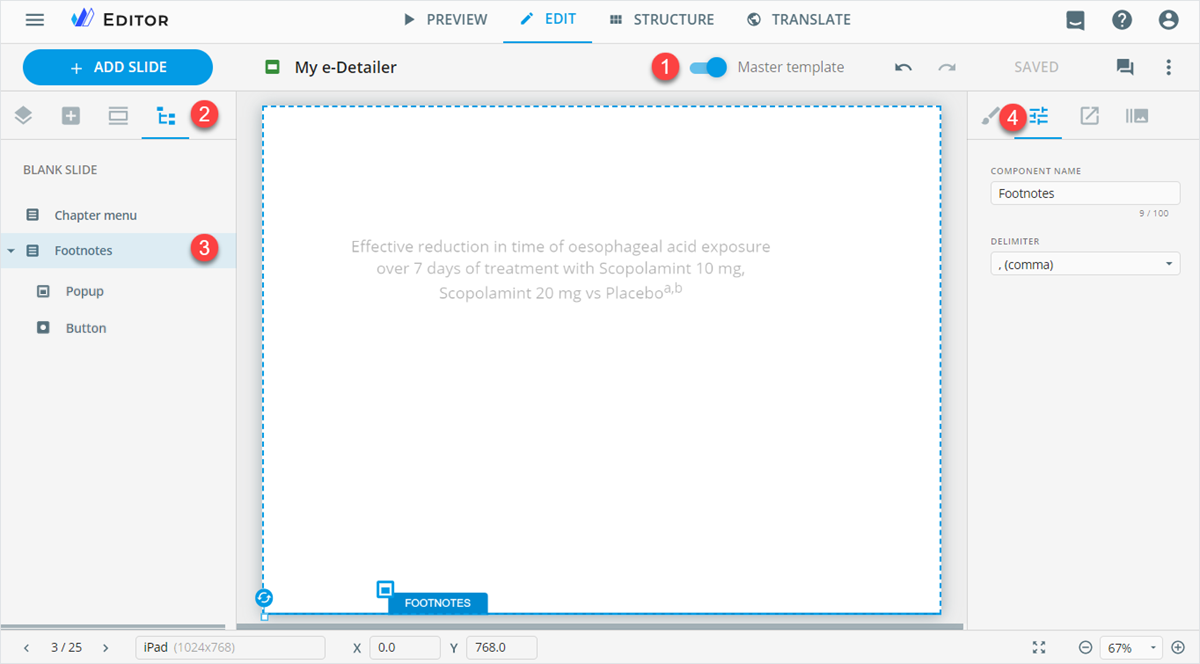
You can set the general properties for the footnotes component:
COMPONENT NAME: Rename the component.DELIMITER: Select a comma or space to separate footnotes indicators on the slide.
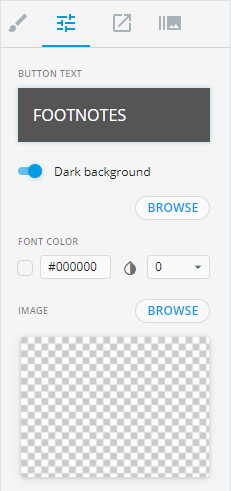
Footnotes popup and button
You can customize the styles and properties of the Footnotes popup and the FOOTNOTES button. For this:
Switch on Master template.
Open the Tree tab. Unfold
Footnotes.
To customize the Footnotes popup:
Click
Popup.Go to the Properties tab on the customization panel.
You can set the following properties for the Footnotes popup:
COMPONENT NAME: Rename thePopupcomponent. Your changes appear in Tree on the fly.NAME: Rename theFootnotespopup with the WYSIWYG editor or browse for the required name in Veeva Vault. Your changes are applied to theFootnotespopup header on the fly.Show close button: Selected by default. Deselect the checkbox to hide the button in the popup.
CLOSE BUTTON ICON: Browse for a custom close button icon in the Assets popup.ICON POSITION: Set the required position of the close button icon in the popup.Close on outside tap: Selected by default. This is an additional option to close theFootnotespopup when presenting the e-Detailer. With it, you close theFootnotespopup tapping the slide anywhere outside the popup. Deselect this checkbox to close theFootnotespopup with the close button only.Show overlay: Selected by default. It grays out the slide area behind theFootnotespopup. Deselect the checkbox to keep the slide area behind the popup unchanged.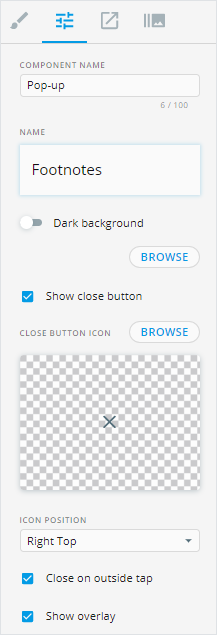
To customize the size, position, background color, and border of the Footnotes popup, go to the Styling tab.