Appearance
Introduction into the framework, login and content initialization
eWizard.js is a progressive JavaScript framework for creative agencies and developers' teams, which lies on the background of eWizard content management platform, empowering Digital Content Factory. eWizard CLI empowers flexible and universal eDetailing development from scratch and makes content 100% editable and reusable.
Before actual start working with eWizard.js you should log in to the system. It could be easily done by running the command wiz login in any directory:
sh
default-user@DESKTOP-3E91KFD MINGW64 ~/Desktop
wiz login
After running this command the tool will redirect you to the eWizard instance for further login and outputs the following info block in case your login successful

After successful authentication you can initialize your first email with the following command
sh
wiz init email ewizard-email -v 2.0.2sh
default-user@DESKTOP-3E91KFD MINGW64 ~/Desktop
$ wiz initemail ewizard-email -v 2.0.2
? description An email-template
? name test-email
npm notice created a lockfileas package-lock.json. You should commit this file.
added 60 packages and audited 120 packages in 12.823s
found 0 vulnerabilities
added 60 packages from 66 contributors and audited 120 packages in 17.227s
found 0 vulnerabilities
This command will create a directory ewizard-email and initialize there an email based on a scaffolding v.2.0.2. It is mandatory to state the version when initializing the email because classic email editor works with this version of scaffolding.
You will be prompted about some additional questions about description and the name of the email. However, since this is our very first demo email we can leave everything by default by pressing the Enter button.
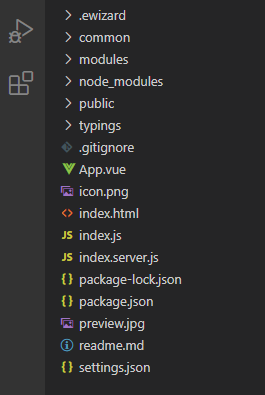
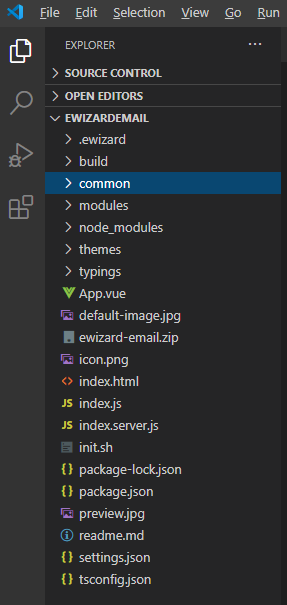
After successful initialization we can open our email in any IDE and check the following email directory structure:
Alternatively, you can create an email in eWizard platform, then download it to your local PC and proceed working with it locally.
Go to https://your-ewizard-instance.ewizard.io then switch Email templates -> ADD NEW -> Email.
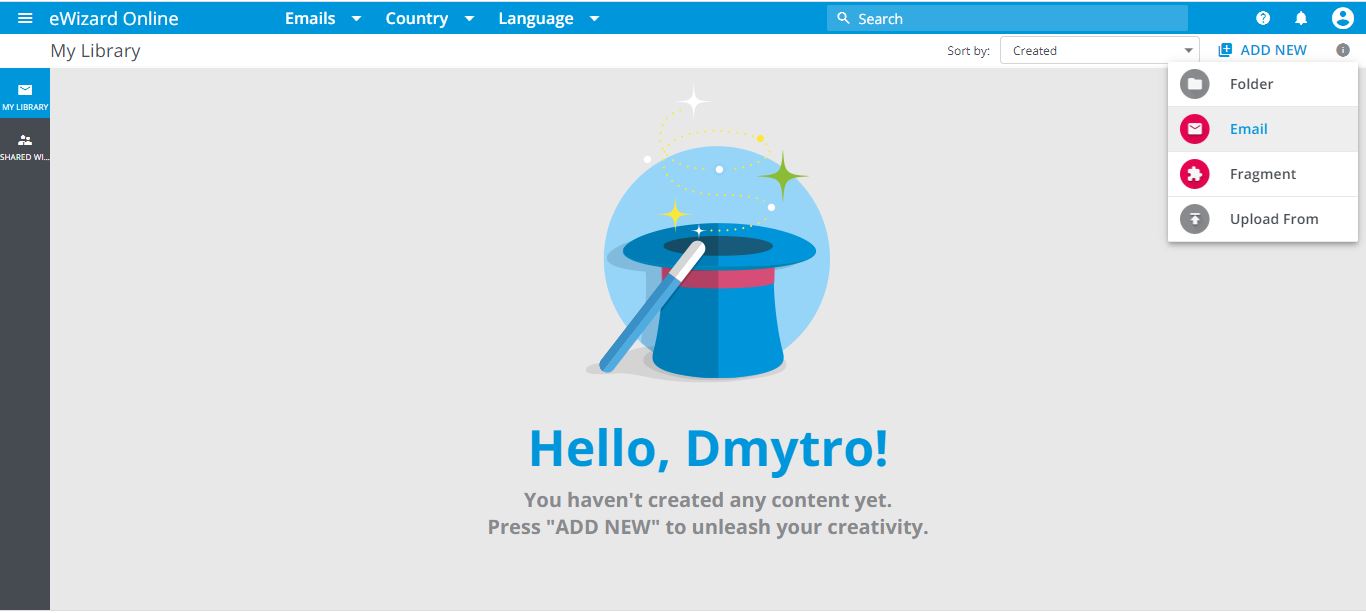
Then you should choose Viseven-template in templates tab, fill in all required fields and tap the Create button:
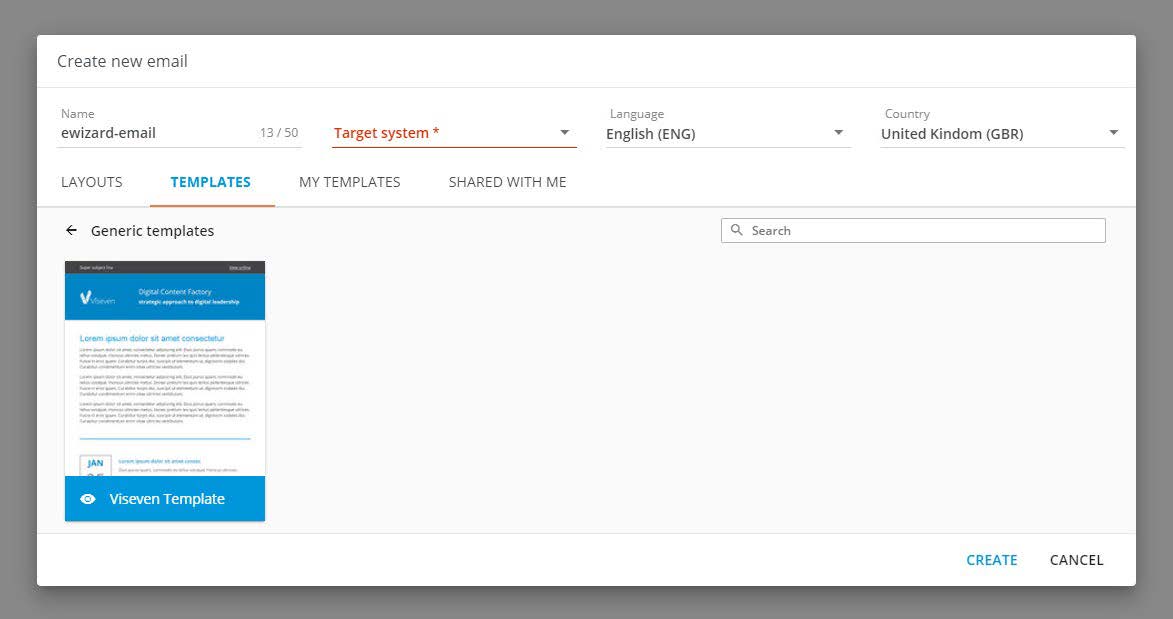
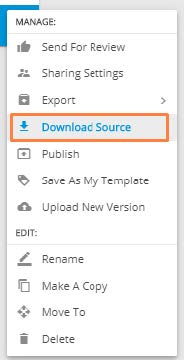
After successful initialization of email in eWizard platform you can download it with the use of the Download Source button:
If you open downloaded email in code editor you can check the directory structure. It is almost the same as in previous email:
Text editing
You can check how your email is looking in browser it is useful if you want to check whether your code corrections have been successfully implemented. To do so you should run command wiz dev --watch
sh
default-user@DESKTOP-3E91KFD MINGW64 ~/Desktop/ewizardemail_0.0.1
$ wiz dev --watch
build [== ] 10%
WARNING: We noticed you're using the `useBuiltIns` option without declaring a core-jsversion. Currently, we assume version 2.x when no version is passed. Since this default version will likely change in future versions of Babel, we recommend explicitly setting the core-jsversion you are using via the `corejs` option.
Build completed in 58.227s
After successful build you can open index.html file on your localhost and check email appearance:
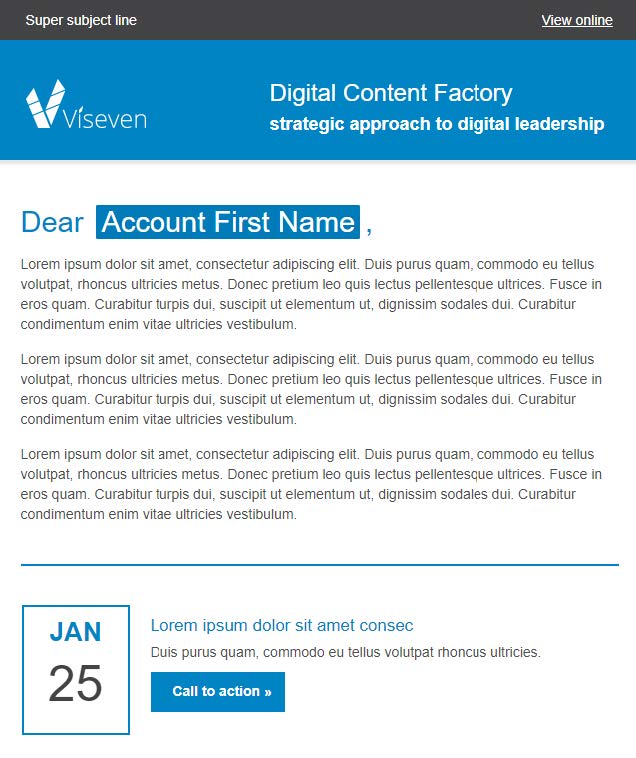
The email consists of different blocks with images and texts. You can easily make changes in texts of this email. Go back to the code editor and open App.vue file and find appropriate block in which situated a text string you want to change:
html
<template>
<div align="center">
<wiz-layout
style="border-spacing: 0; background: #ffffff;" >
<header-1d></header-1d>
<content-2j></content-2j>
<content-2cl></content-2cl>
<content-2h></content-2h>
<footer-3a></footer-3a>
</wiz-layout>
</div>
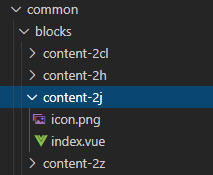
</template>Then you should open common/blocks/content-2j/index.vue file:
Find <i18n> tag -> object en -> property title.
html
    <i18n>
        {
            "en": {
                "title": "<div style='line-height: 34px;text-align: left;'><span style='color:#0084c4;font-size: 29px;font-family:arial,helvetica neue,helvetica,sans-serif;'>Dear, Account Name </div>",
                "main_text1": "<div style='line-height: 20px;text-align: left;'><span style='color:#4d4d4d;font-size: 14px;font-family:arial,helvetica neue,helvetica,sans-serif;'>Lorem ipsum dolor sit amet, consectetur adipiscing elit. Duis purus quam, commodo eu tellus volutpat, rhoncus ultricies metus. Donec pretium leo quis lectus pellentesque ultrices. Fusce in eros quam. Curabitur turpis dui, suscipit ut elementum ut, dignissim sodales dui. Curabitur condimentum enim vitae ultricies vestibulum.</div>",
                "main_text2": "<div style='line-height: 20px;text-align: left;'><span style='color:#4d4d4d;font-size: 14px;font-family:arial,helvetica neue,helvetica,sans-serif;'>Lorem ipsum dolor sit amet, consectetur adipiscing elit. Duis purus quam, commodo eu tellus volutpat, rhoncus ultricies metus. Donec pretium leo quis lectus pellentesque ultrices. Fusce in eros quam. Curabitur turpis dui, suscipit ut elementum ut, dignissim sodales dui. Curabitur condimentum enim vitae ultricies vestibulum.</div>",
                "main_text3": "<div style='line-height: 20px;text-align: left;'><span style='color:#4d4d4d;font-size: 14px;font-family:arial,helvetica neue,helvetica,sans-serif;'>Lorem ipsum dolor sit amet, consectetur adipiscing elit. Duis purus quam, commodo eu tellus volutpat, rhoncus ultricies metus. Donec pretium leo quis lectus pellentesque ultrices. Fusce in eros quam. Curabitur turpis dui, suscipit ut elementum ut, dignissim sodales dui. Curabitur condimentum enim vitae ultricies vestibulum.</div>"
            }
        }
    </i18n>
There you should remove appropriate content and insert your own:
html
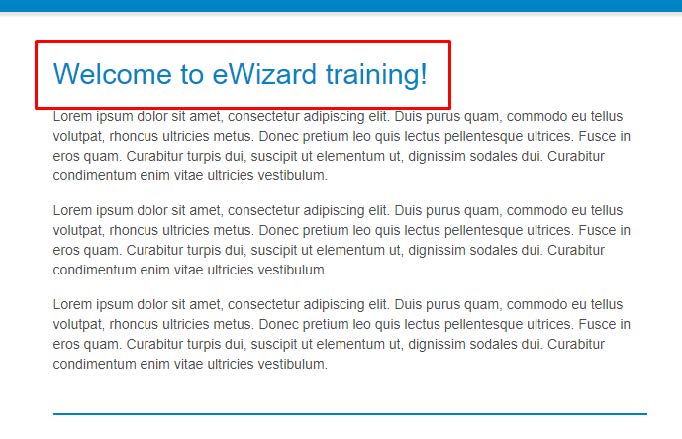
"title": "<div style='line-height: 34px;text-align: left;'><span style='color:#0084c4;font-size: 29px;font-family:arial,helvetica neue,helvetica,sans-serif;'>Welcome to eWizard training </div>",After implementing above mentioned steps you need to refresh the browser page and reassure that changes have been successfully implemented.
Usage of blocks
Block element stands for the ready to use piece of email template (ET) markup with predefined content and design. User can add block to ET and edit it in eWizard editor. The concept of blocks intends that user can quickly construct email from the set of predefined elements with determined layout and edit them using visual editor without having the issues with the <table> markup and styling.
If you open the App.vue file, you will see some extraordinary tags like wiz-layout, header-1d, content-2j, e.t.c. wiz-layout is representing the component when two others representing the blocks.
html
<template>
<div align="center">
<wiz-layout
style="border-spacing: 0; background: #ffffff;"
class="content-wrapper"
align="center">
<header-1d></header-1d>
<content-2j></content-2j>
<content-2cl></content-2cl>
<content-2h></content-2h>
<footer-3a></footer-3a>
</wiz-layout>
</div>
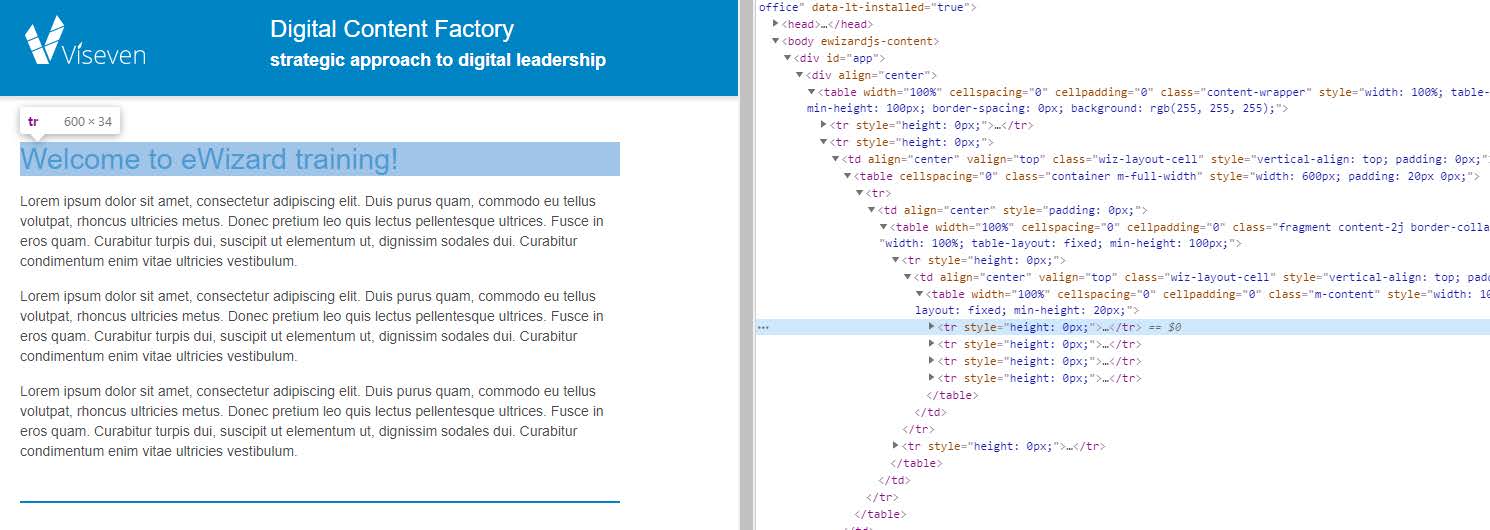
</template>If you go back to the browser and open a DevTool you could see that blocks are rendered into simple rows of HTML table:
One of the biggest advantages of blocks is that you can develop a certain block once and then easily link it to any email you want instead of copy-pasting block content inside every email. Besides you can easily fix some issues once, then reinstall the block in respective emails and the issue will be successfully fixed in every email.
You can try to create your custom block by yourself. Firstly, you should open common/blocks and create a directory in which will be stored the actual block content:

Then you should open terminal in that directory and run a command wiz init block and answer some questions about block settings:
default-user@DESKTOP-3E91KFD MINGW64 ~/Desktop/ewizardemail_0.0.1/common/blocks/custom-block
$ wiz init block
? description ewizardjs email template block
? Use ESLint to lint your code? Yes
? name custom-block
? id 3fcddcad-fed9-4c7b-a6a3-86290817dc71
up to date in 1.642s
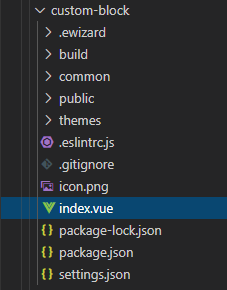
found 0 vulnerabilitiesAfter successful initialization you can open .../custom-block/index.vue file to check the block markup:
Content of the index.vue
html
    <i18n>
        {
            "en": {

            }
        }
    </i18n>

    <template>
        <table cellspacing="0">
            <tr>
                <td align="center">
                    <p class="block">Hello world!</p>
                </td>
            </tr>
        </table>
    </template>

    <script>
    export default {
        name: 'block',
    }
    </script>
You can easily change the content of your block – add an image for example.
Firstly you should create a directory public inside custom-block and place there an image which you can download at this link:

The next step you need to do is to import the image inside the index.vue file inside <script><script> tag and update the export section:
html
    <script>
        import image from'./public/doctor.jpg'

        exportdefault{
            name:'custom-block',
            data:function(){
                return{
                    image
                }
            }
        }
    </script>
The next thing you should do is to add wiz-layout tag and place inside it a wiz-image tag in order that browser properly renders an image. Also, you should add classes for styling the wiz-image component as well as define src property with image value:
html
    <table cellspacing="0">
        <tr>
            <td align="center">
                <wiz-layout>
                    <wiz-image :src="image" class="default-content-item"></wiz-image>
                </wiz-layout>
            </td>
        </tr>
    </table>
Also, you should add some styling for the table in order to position the block within the email size:
html
<table cellspacing="0" style="width: 600px; padding: 5px 0px 20px 0px;">As a final step, you need to add the <custom-block><custom-block> tag to the App.vue file right after the header-1d block:
html
    <template>
        <div align="center">
            <wiz-layout
                style="border-spacing: 0; background: #ffffff;"
                class="content-wrapper"
                align="center">

                <header-1d></header-1d>

                <custom-block></custom-block>

                <content-2j></content-2j>
                <content-2cl></content-2cl>
                <content-2h></content-2h>

                <footer-3a></footer-3a>
            </wiz-layout>
        </div>
    </template>
After implementing all these steps you can open the browser and check the email there:

Also, in order to be able to manage blocks in eWizard editor, we should copy block from the common/block directory to common/blocks-library:
Besides it is mandatory to add a new item to the common/block-library/blocks.json file in order to make it visible in a sidebar in eWizard platform:
json
    {
        "id": "custom-block",
        "name": "Custom-block",
        "model": {},
        "icon": "common/blocks-library/custom-block/public/doctor.jpg"
    }
Component overview
The components are the smallest building blocks of Email template, which user will use while editing and branding email in eWizard Platform.
A new component can be initialized in the separated project and installed as an NPM module further. Another way to create the component - create it in a directory with email and then store its sources along with email project.
Let’s install social-follow-icons component and add it inside an email. Firstly you should run wiz install wiz-social-follow-icons command:
default-user@DESKTOP-3E91KFD MINGW64 ~/Downloads/ewizardemail_0.0.1
$ wiz install wiz-social-follow-icons

+ wiz-social-follow-icons@1.10.0
added 4 packages from 2 contributors, removed 1 package, updated 4 packages, moved 1 package and audited 113 packages in 20.77s
found 0 vulnerabilities
After successful installation you can open node_modules/wiz-social-follow-icons directory to check the directory structure of the component:
- .ewizard - directory with meta information for eWizard platform
- media - contains default component media resources
- node_modules - directory with npm modules which are used in component
- ewizard.config.js-a configuration file to be used for component properties localization and. It exports an object with properties localizations and should be included to component instance in index.vue
- index.vue-the component file itself where its appearance and markup is defined icon.png -an image that will be displayed as components icon in eWizardeditor sidebar
- settings.json-contains settings of the component, and some meta information
- readme.md - the helpful documentation with description of component properties and examples of how to use that component.
To add a component on your email you just need to paste the tag in appropriate place inside App.vue file,for example in the bottom after custom-block block:
html
    <custom-block></custom-block>
    <wiz-social-follow-icons></wiz-social-follow-icons>
As a final step, you should register and import component in index.js file:
js
    import wizSocialFollowIcons from 'wiz-social-follow-icons';

    Vue.component('wiz-social-follow-icons', wizSocialFollowIcons);
After implemented above mentioned steps and running wiz dev --watch command you will be able to see that component is added inside an email:
As you can see, it does not fit the width but it could be fixed via code or in eWizard platform.
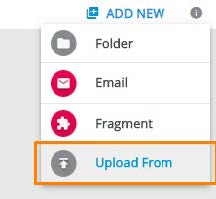
After finishing working with an email on the local PC, email could be uploaded to our account in eWizard platform. To do so you need to run wiz archive command inside root email directory:
default-user@DESKTOP-3E91KFD MINGW64 ~/Desktop/ewizardemail_0.0.1
wiz archive
Then you just need to take created .zip archive and upload it to your eWizard account using Upload From functionality: